Quickstart
In this guide, we want to help you get started with DataCater. Using an example use case, we show you how to build your first streaming data pipeline in a few minutes.
In preparation, please make sure to get access to a running DataCater installation. For instance, start the free 14-day trial for DataCater Cloud.
Use case
In the following steps, we will walk you through building an end-to-end streaming data pipeline, which
- consumes ticker information on cryptocurrency coins from the REST API of coinpaprika,
- filters and transforms the data in real-time,
- and streams the processed data to a JSON file.
The documentation of the API is available here.
Create data source
Please navigate to Data sources and click the button Create data source to create a new data source.
In the next step, pick REST endpoint as the data source type.
Choose a name for your data source, which helps you identify it later. What about coinpaprika ticker?
For this example, please use the following configuration:
- Fill the field URI with
https://api.coinpaprika.com/v1/tickers?quotes=BTC. - Click on the button Fetch column names and choose
idas Name of the attribute holding the record key. - Navigate to the tab Change Data Capture and choose
last_updatedas Name of the attribute holding the timestamp of the record's most recent update.
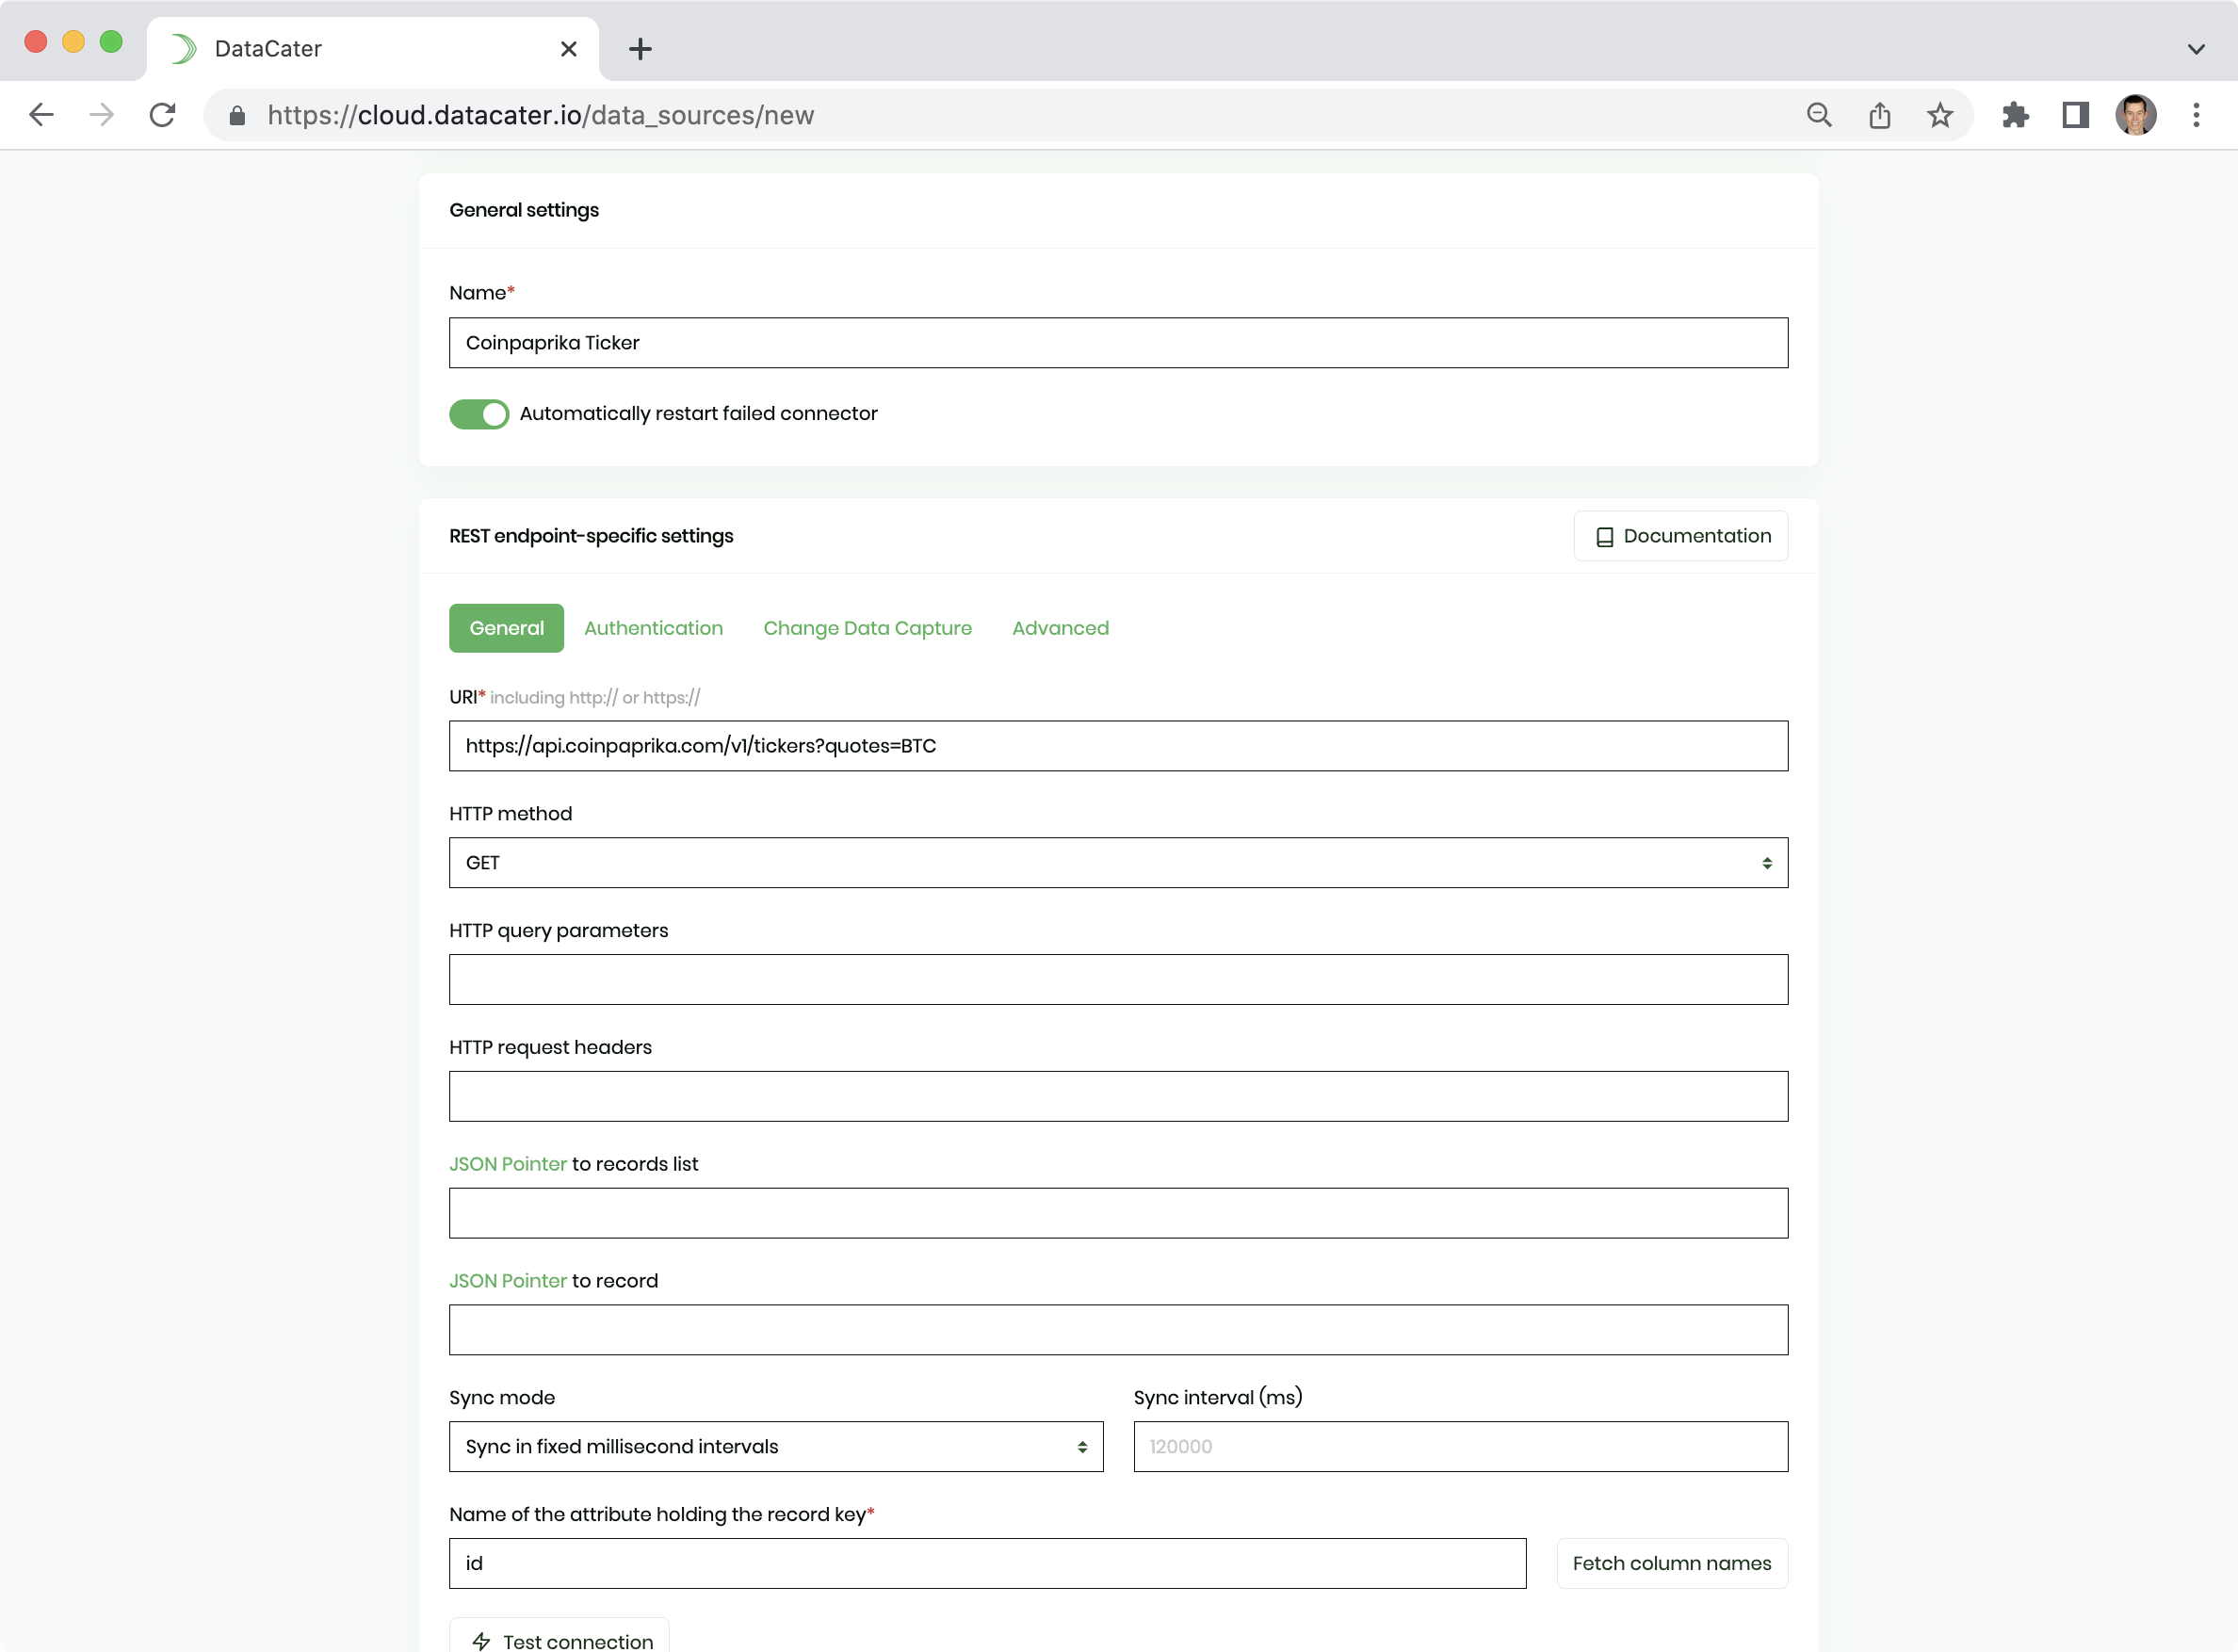
By default, the REST Endpoint connector pulls data from the API every 120 seconds. You can configure this sync interval using the configuration option Sync interval(ms); you might even specify a CRON expression for fixed extraction times.
By configuring Name of the attribute holding the timestamp of the record's most recent update, the connector knows which attribute holds change timestamps and can automatically detect changes, prevent duplicate records to be processed by the pipeline.
You might want to first verify your connection by clicking the button Test connection button or directly persist the data source by clicking the button Create data source.
Create pipeline
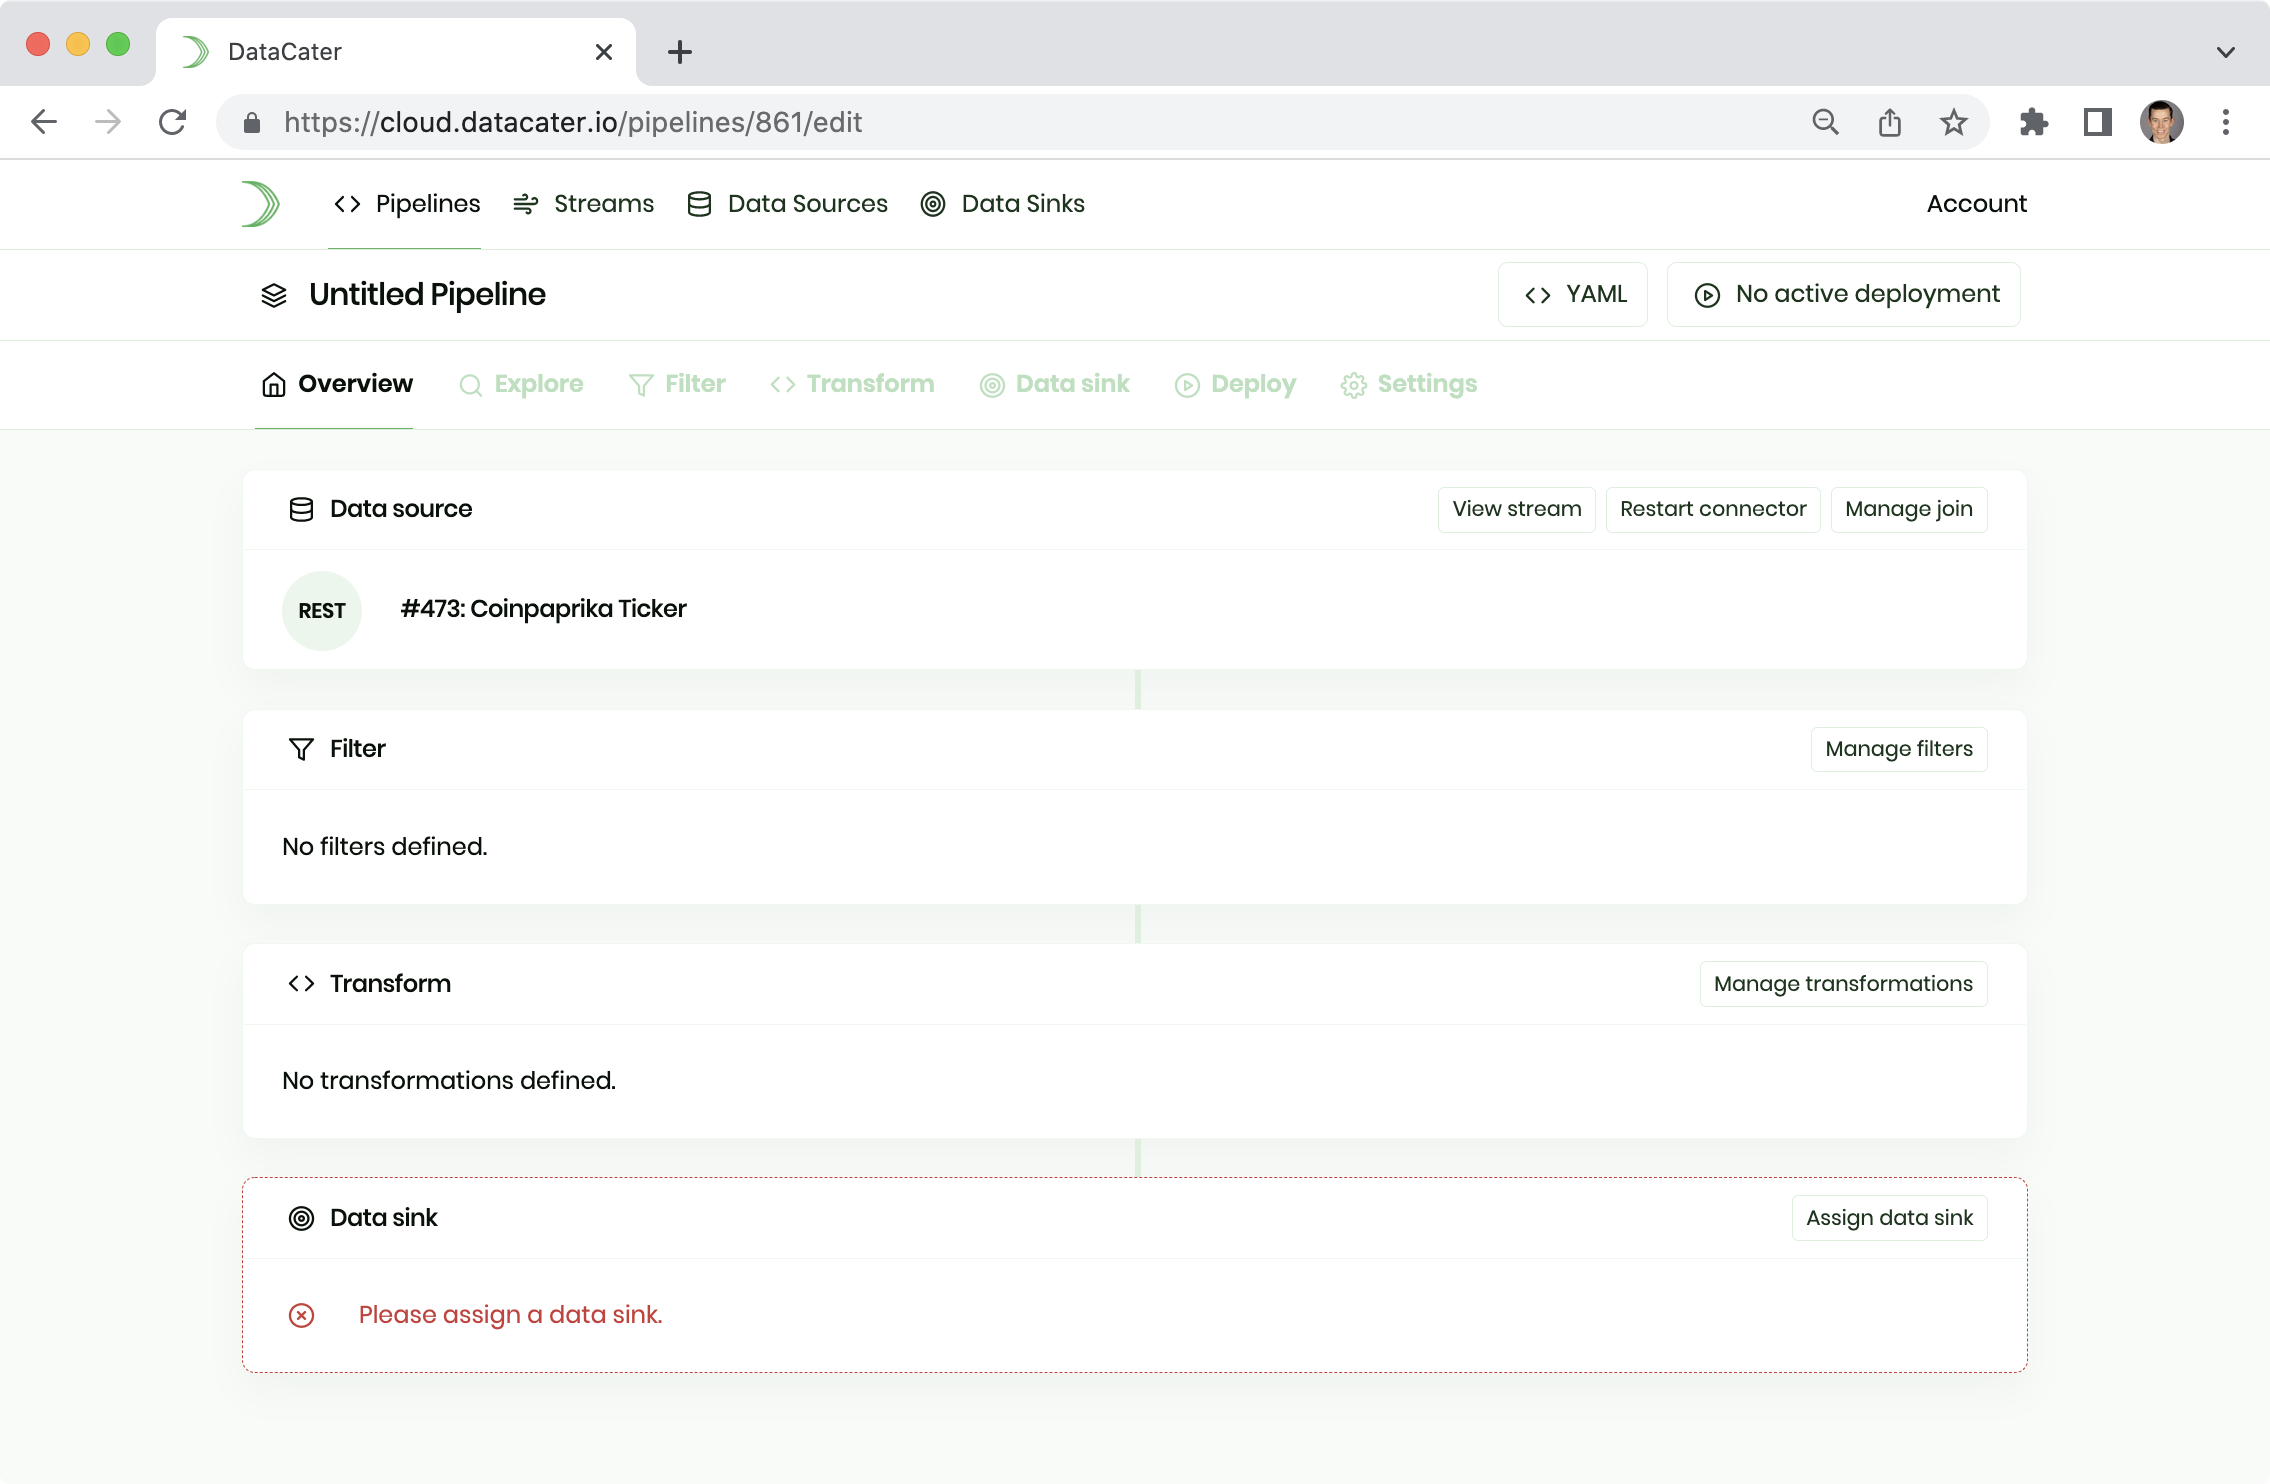
Please navigate to Pipelines and click the button Create pipeline to create a new pipeline.
In the next step, pick your data source.
DataCater automatically profiles the data source and loads the Pipeline Designer:
Filter data (optional)
Let's have a look at how to filter data while streaming them.
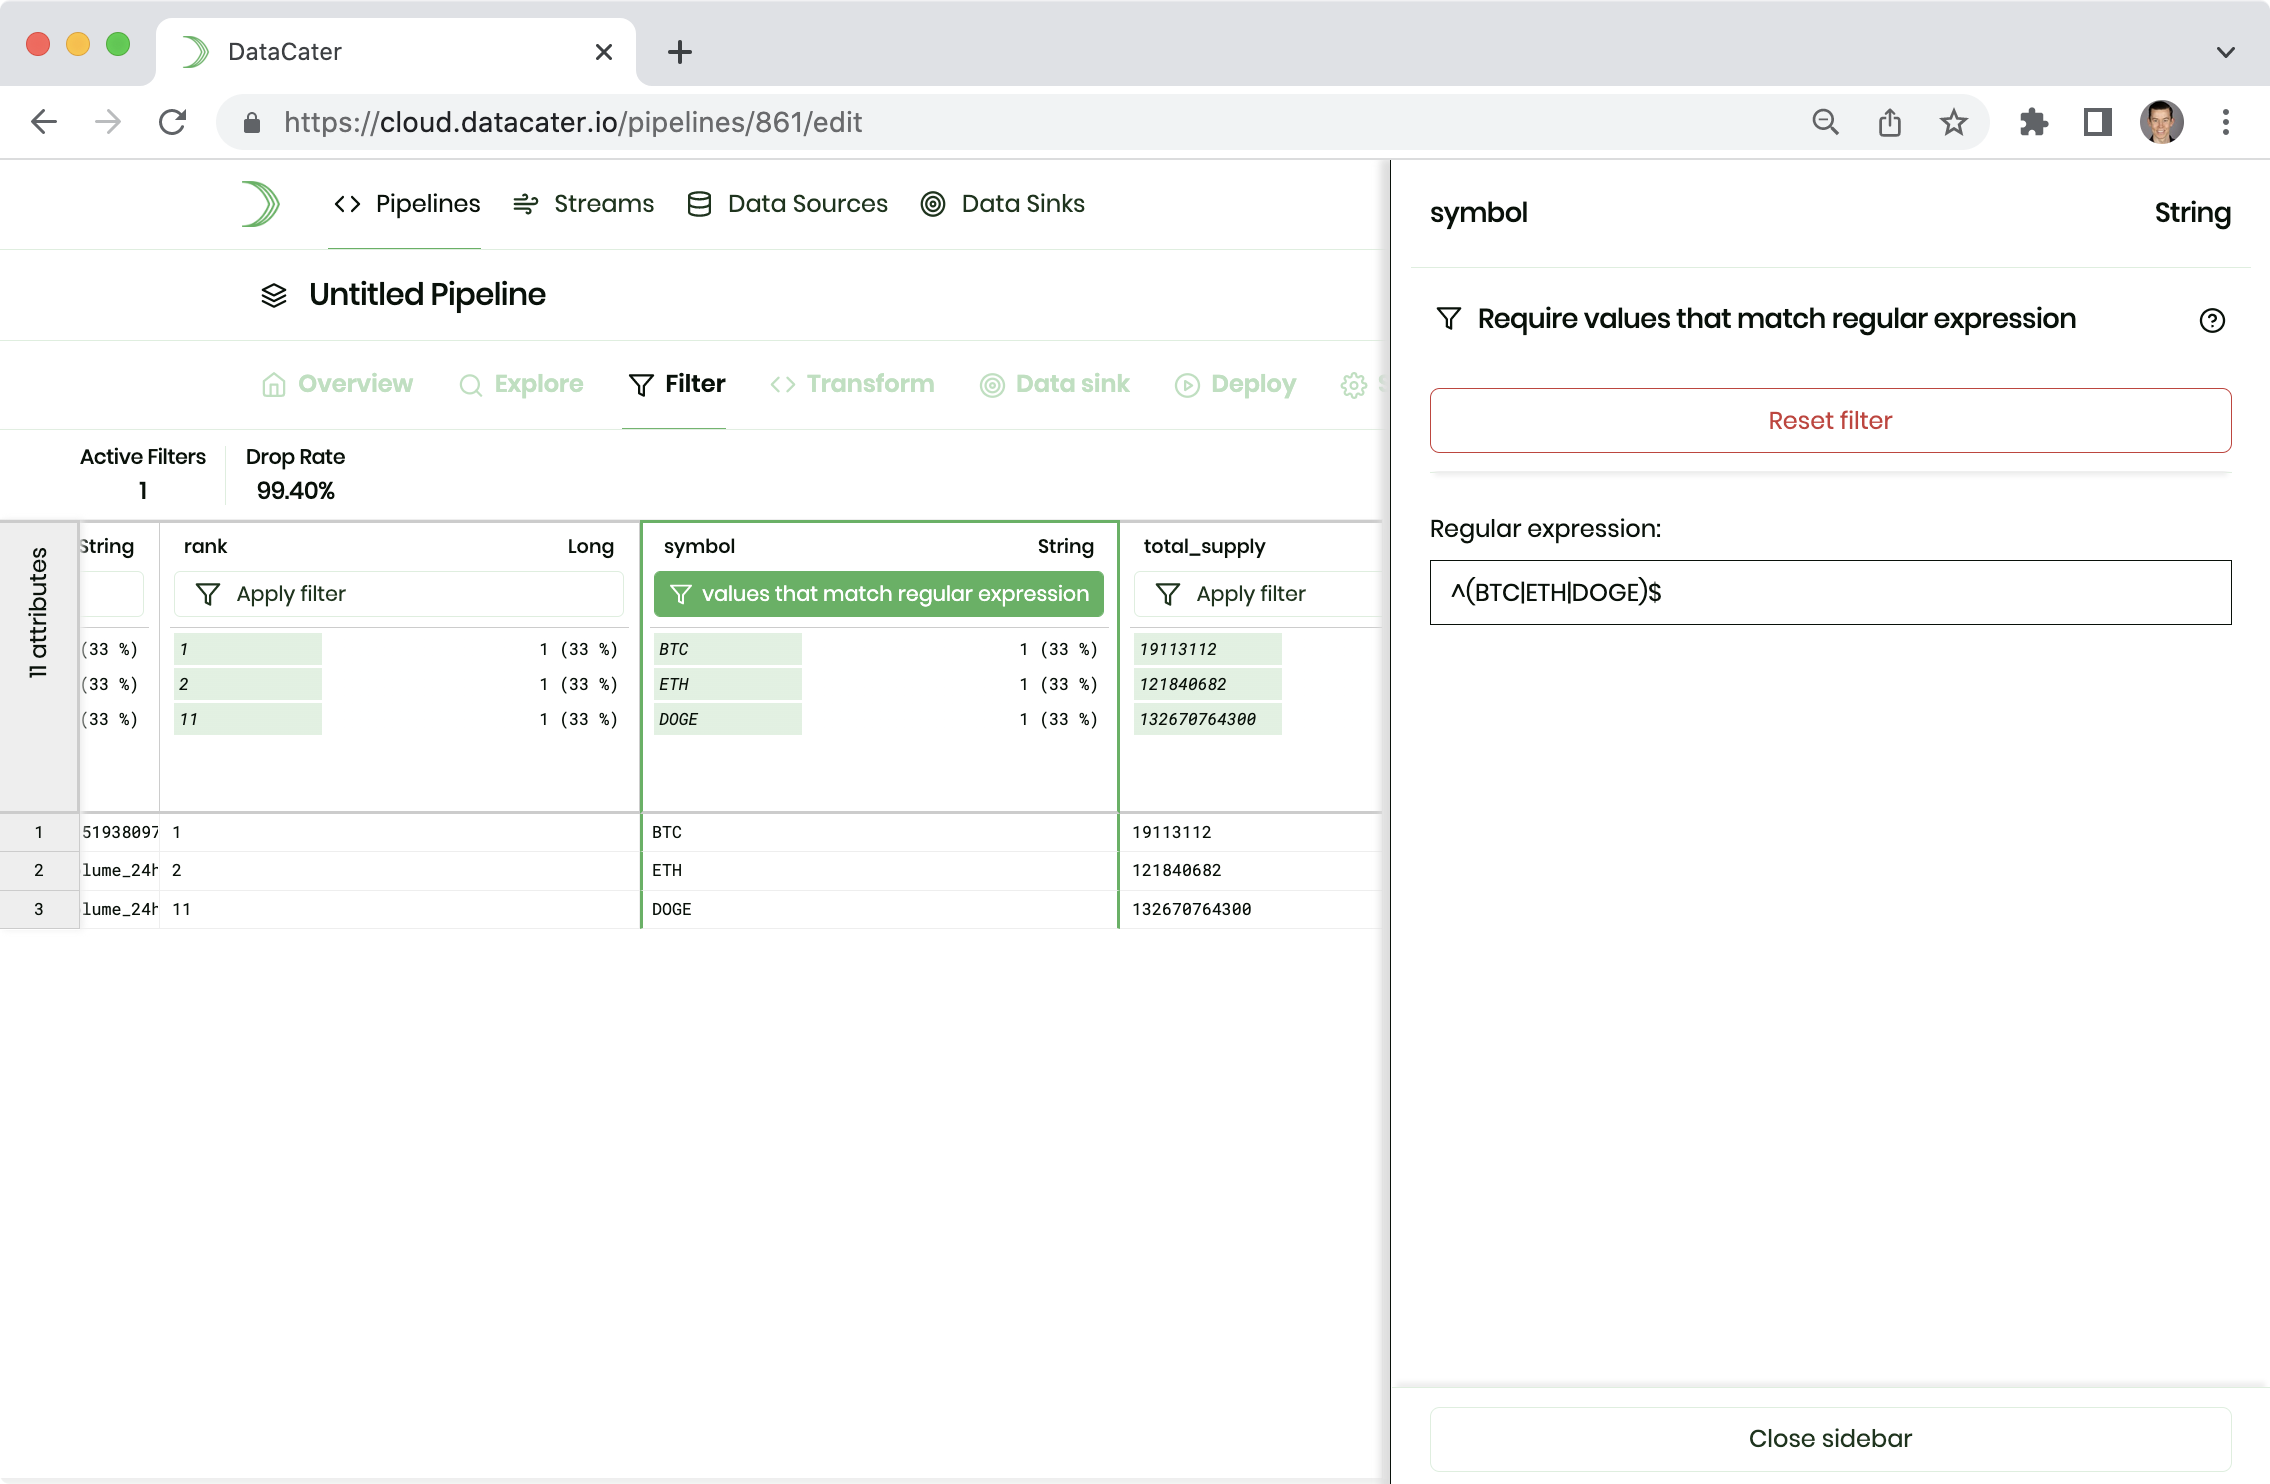
coinpaprika provides ticket information for thousands of coins. However, we are only interested in the cryptocurrencies Bitcoin, Ethereum, and Dogecoin.
Please navigate to Filters in the navigation of the
Pipeline Designer. Scroll to the right to the attribute
symbol. Click Apply filter and choose Require values that match regular expression
from the list of available filters.
In the next step, you can provide the regular expression ^(BTC|ETH|DOGE)$
to select only the three cryptocurrencies of interest:
Transform data (optional)
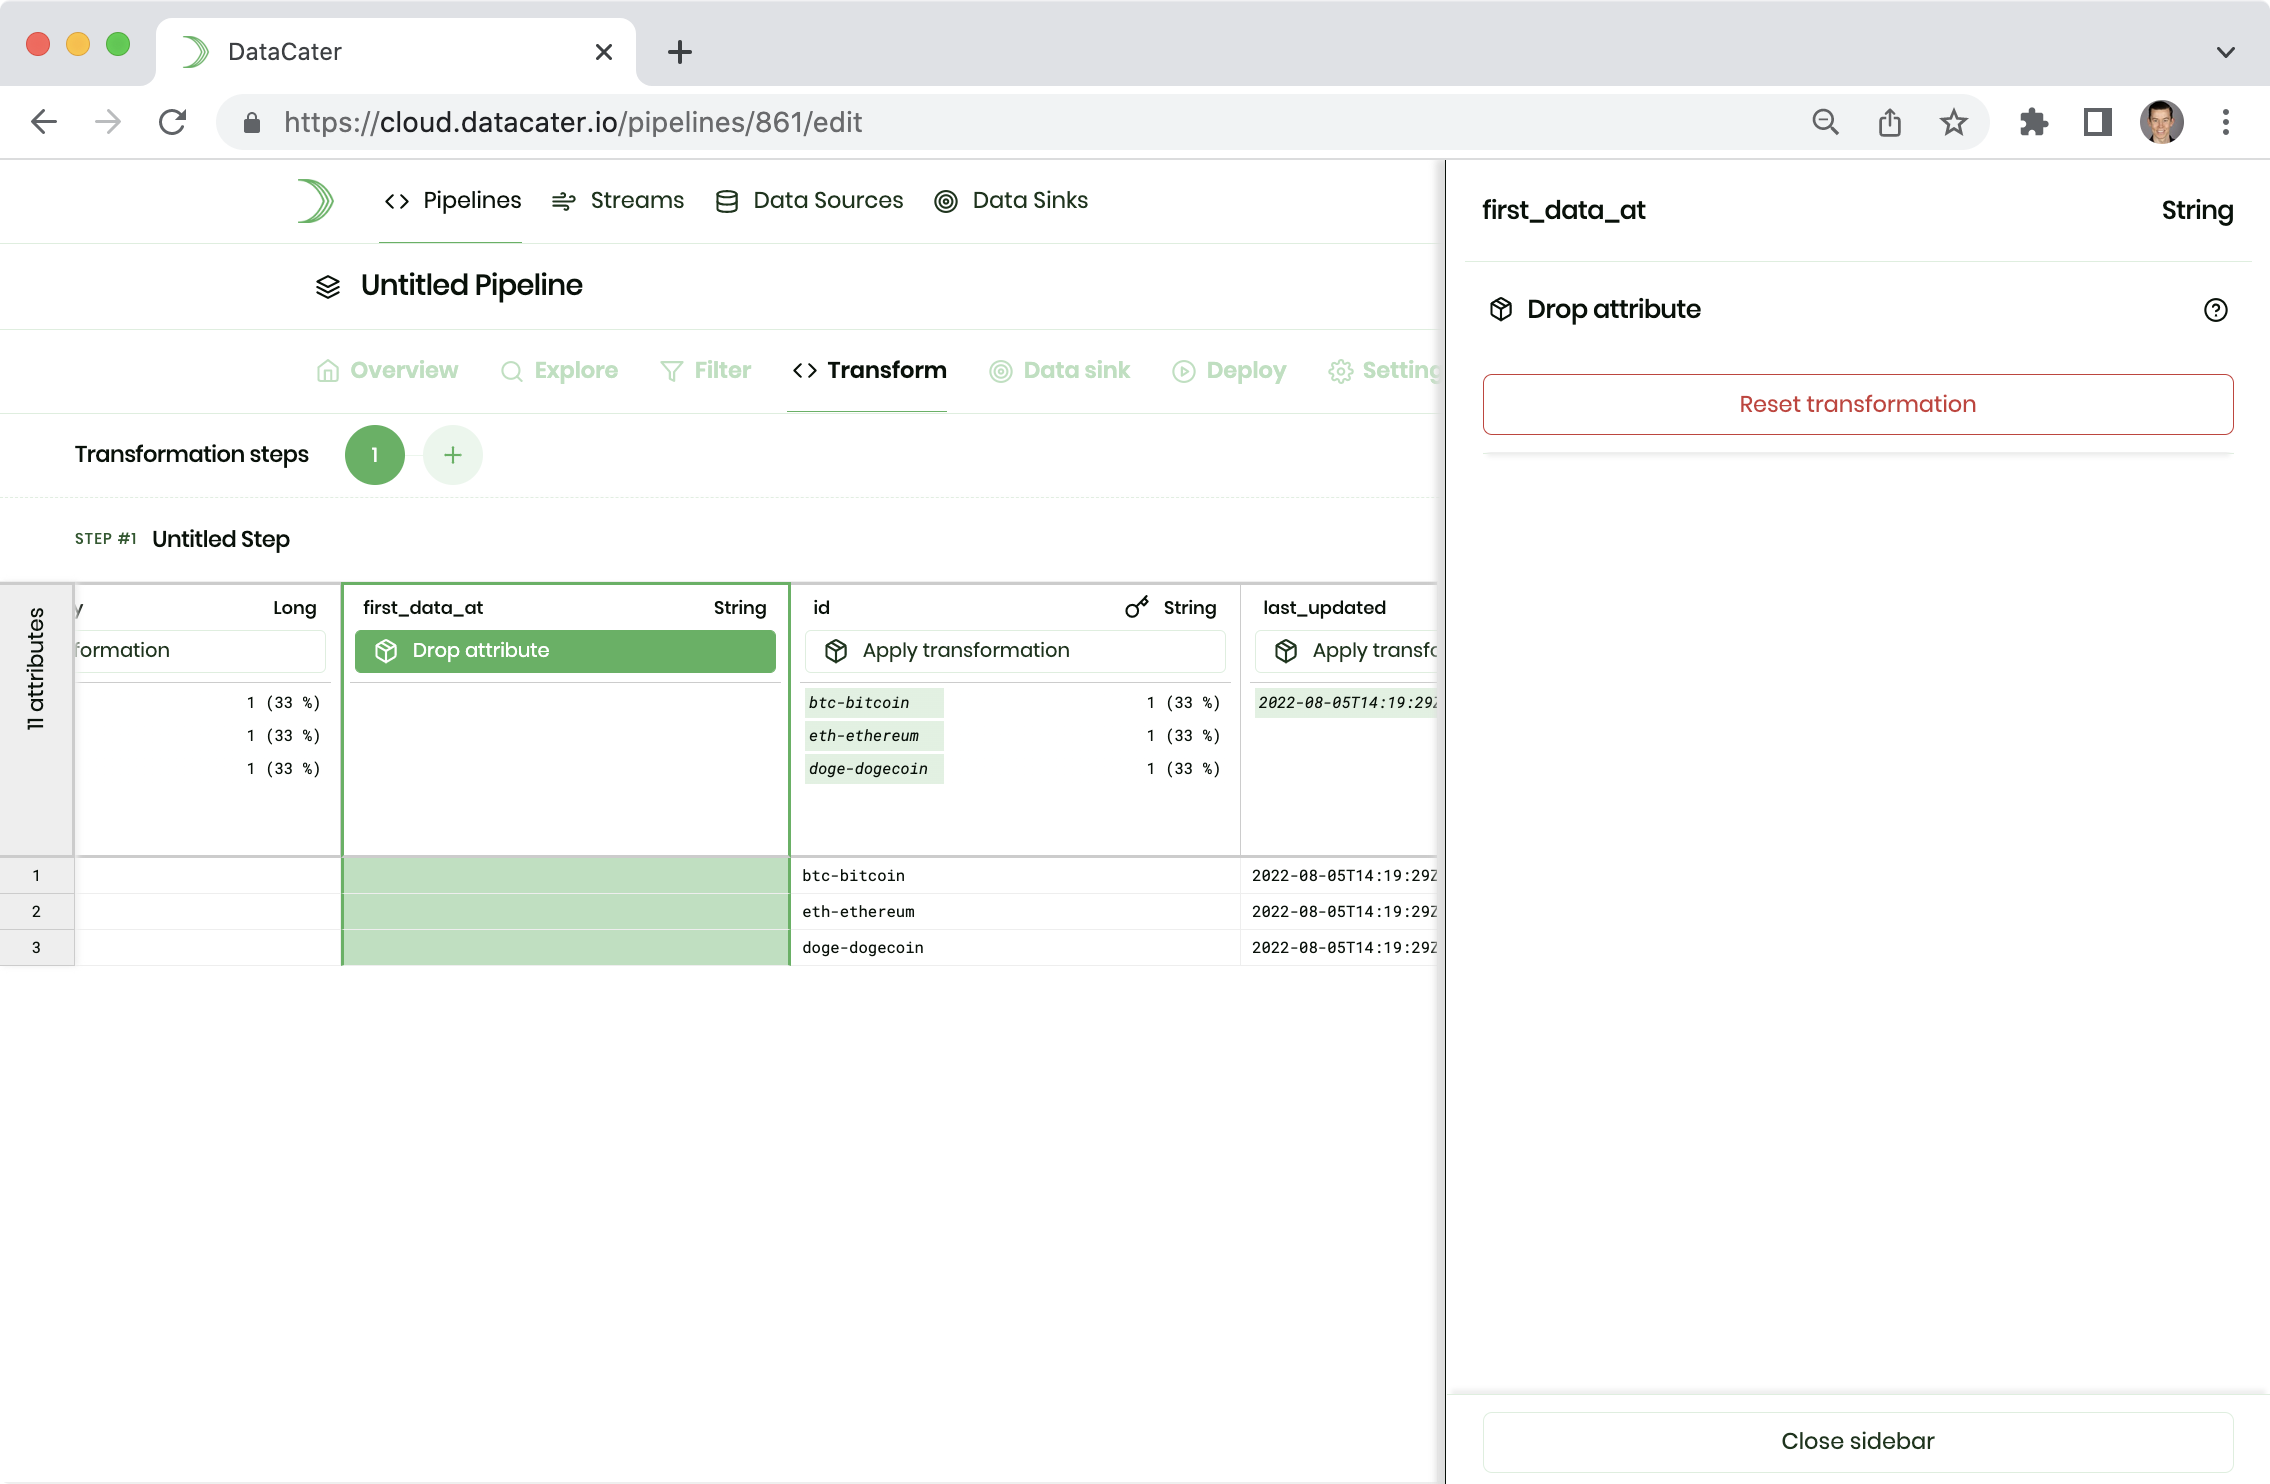
Let's head to Transformations and have a look at how to transform data. You can create a sequence of transformation steps. In each step, you can apply one transformation to each attribute.
Let's scroll to the attribute first_data_at, click
Apply transformation, and choose the transformation
Drop attribute to remove the attribute from the data:
Create data sink
Data sinks need to be created similar to data sources. Normally, you would have to navigate to Data sinks and click the Create data sink button to build a new data sink. After creation, you could assign it to a pipeline in the Data sink tab in the Pipeline Designer.
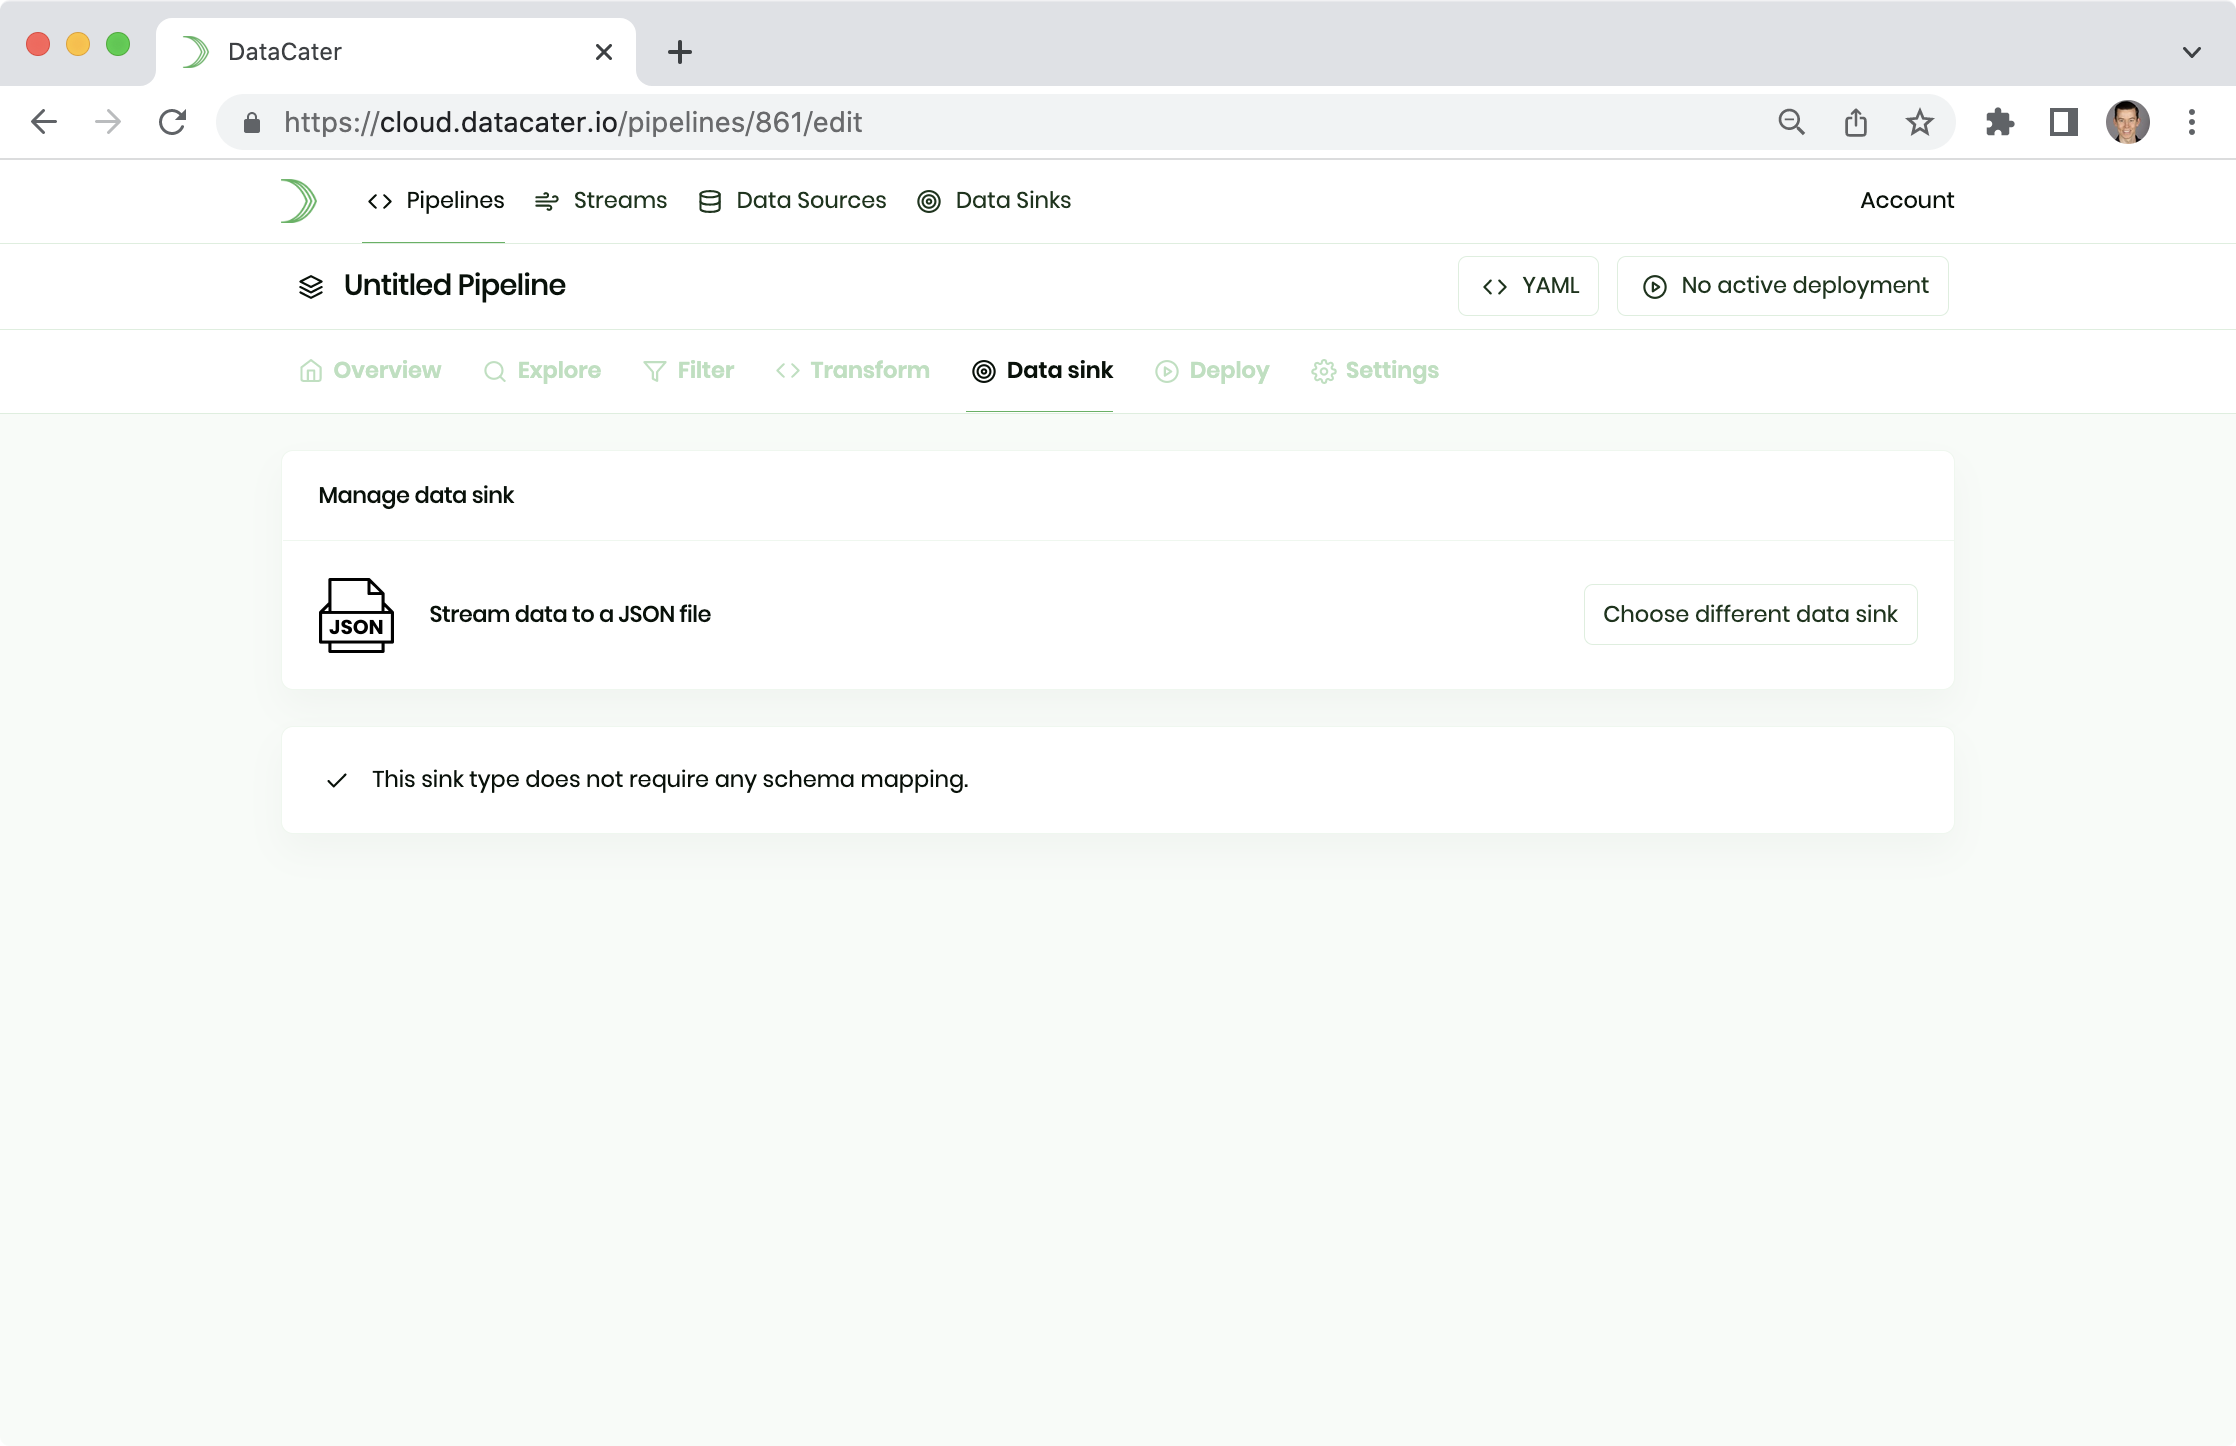
In this example, we want to stream the processed data to a JSON file. DataCater simplifies streaming to flat files and does not require you to manage separate data sink entities.
Please navigate to the Data sink tab of the Pipeline Designer and choose Stream data to a JSON file:
Deploy pipeline
Once you are happy with your pipeline, you can head to Deployments and deploy it.
Please click the button Create deployment to create a new immutable deployment. In the next step, you can click the button Start execution to launch it:
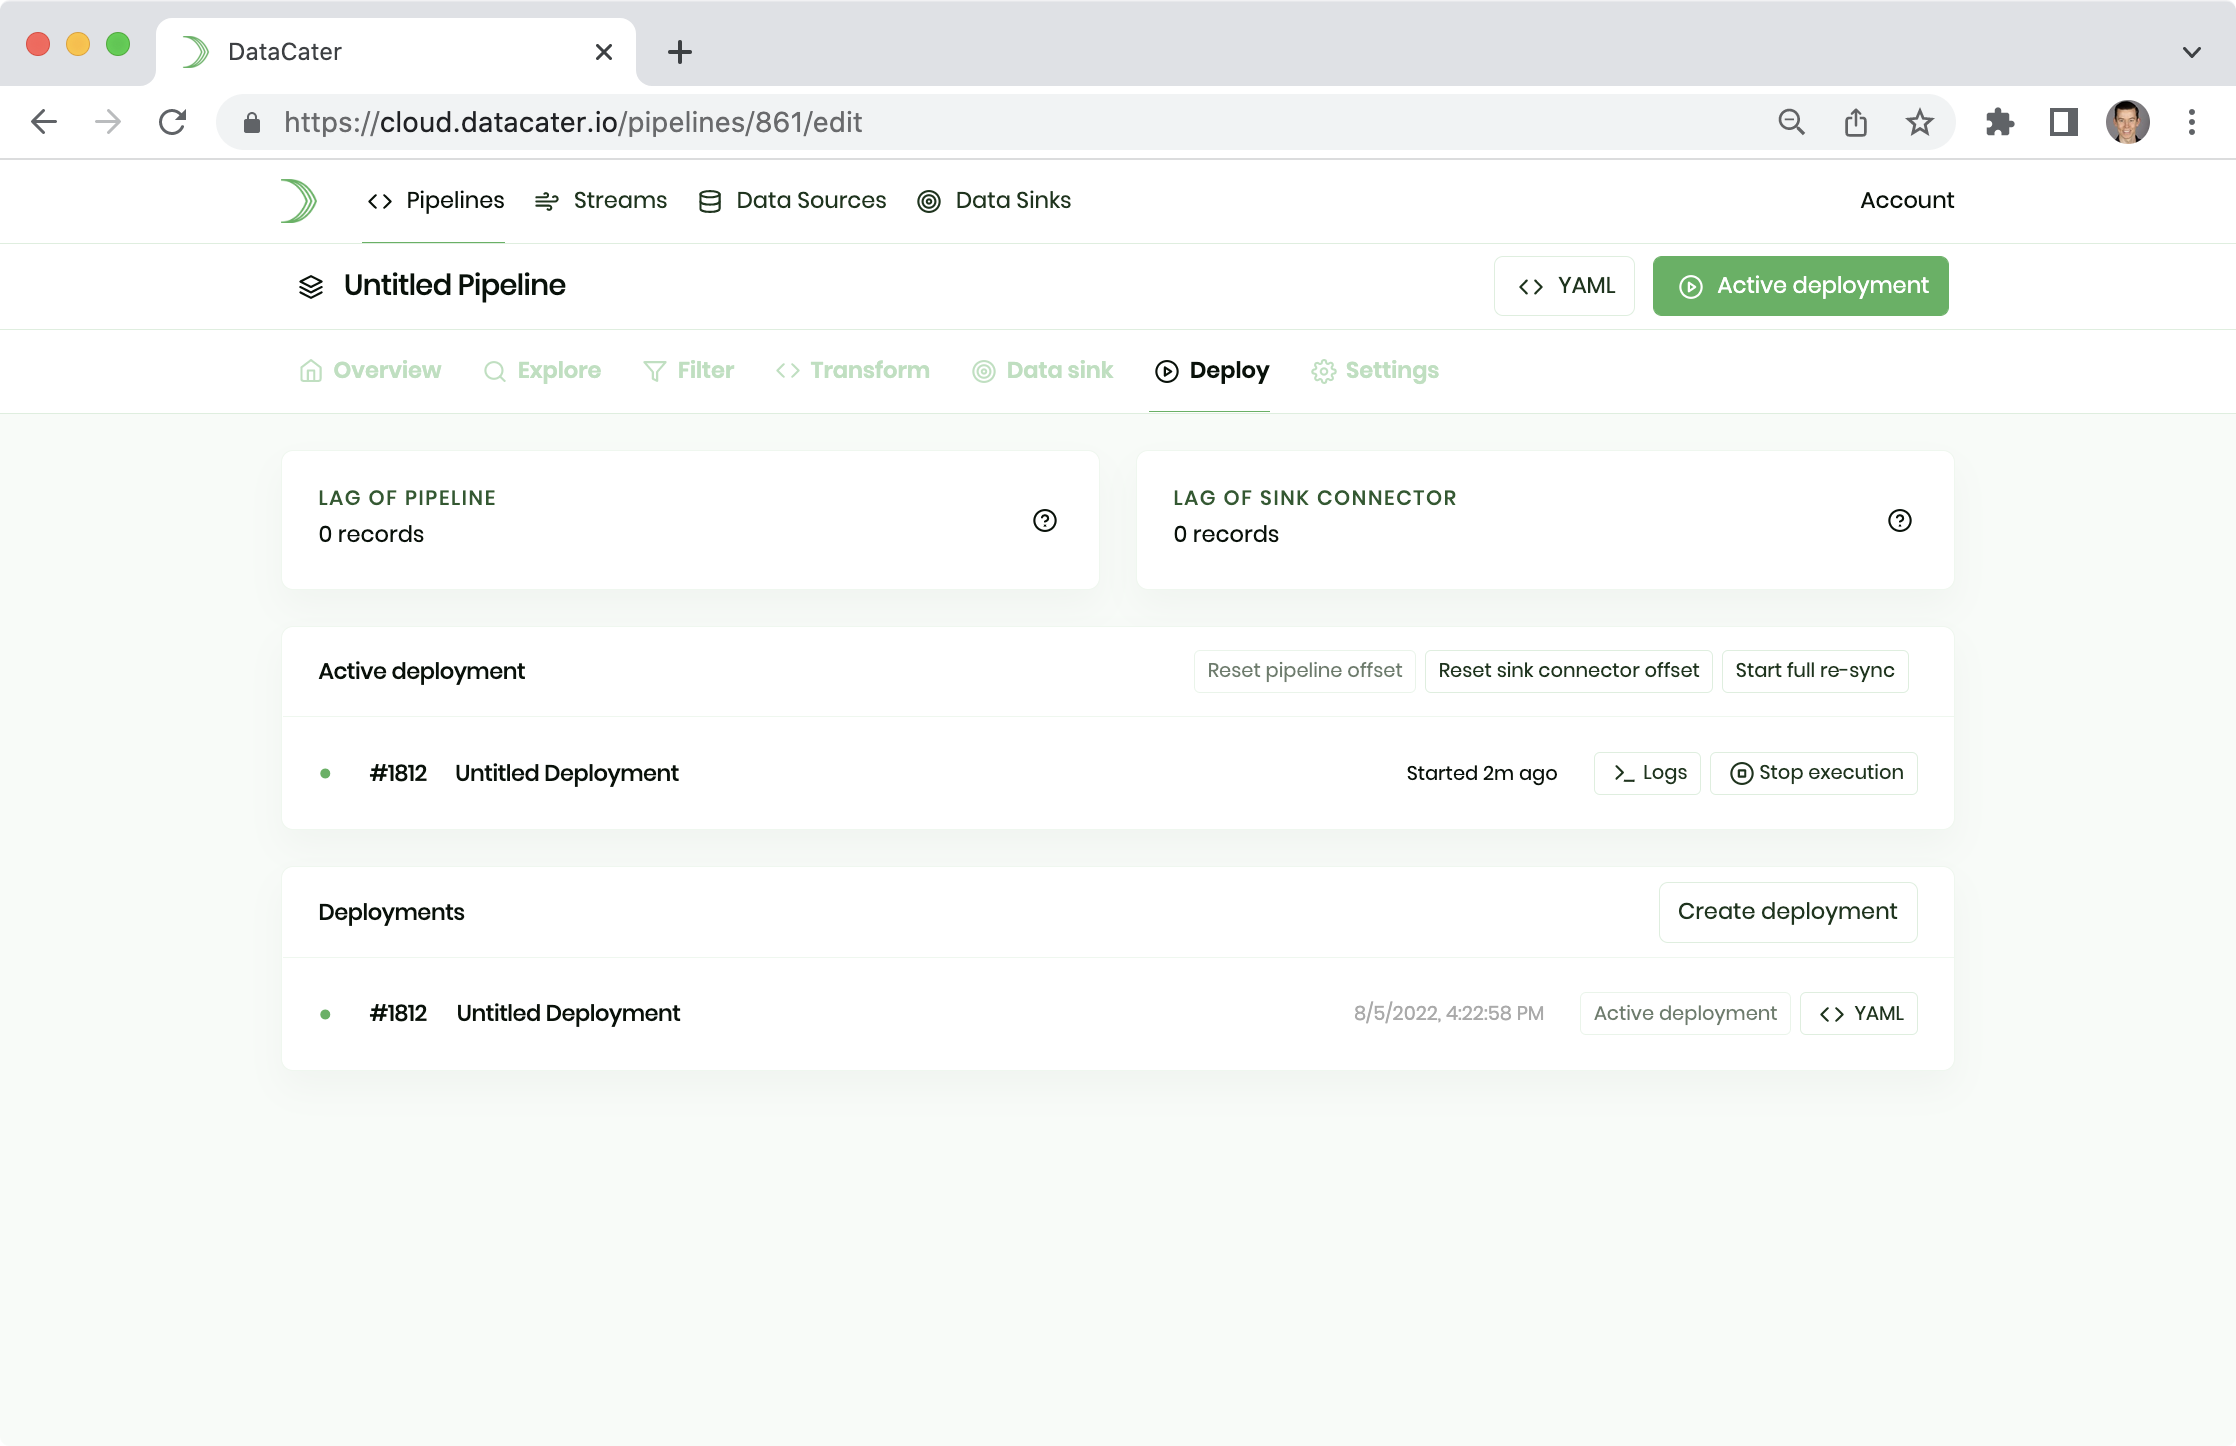
You can observe the logs of the deployment to watch the data sync in real-time.
That's it! You just built your first streaming data pipeline. You can head back to the Overview tab of the Pipeline Designer and download the JSON file by clicking the button Download in the Data sink box:
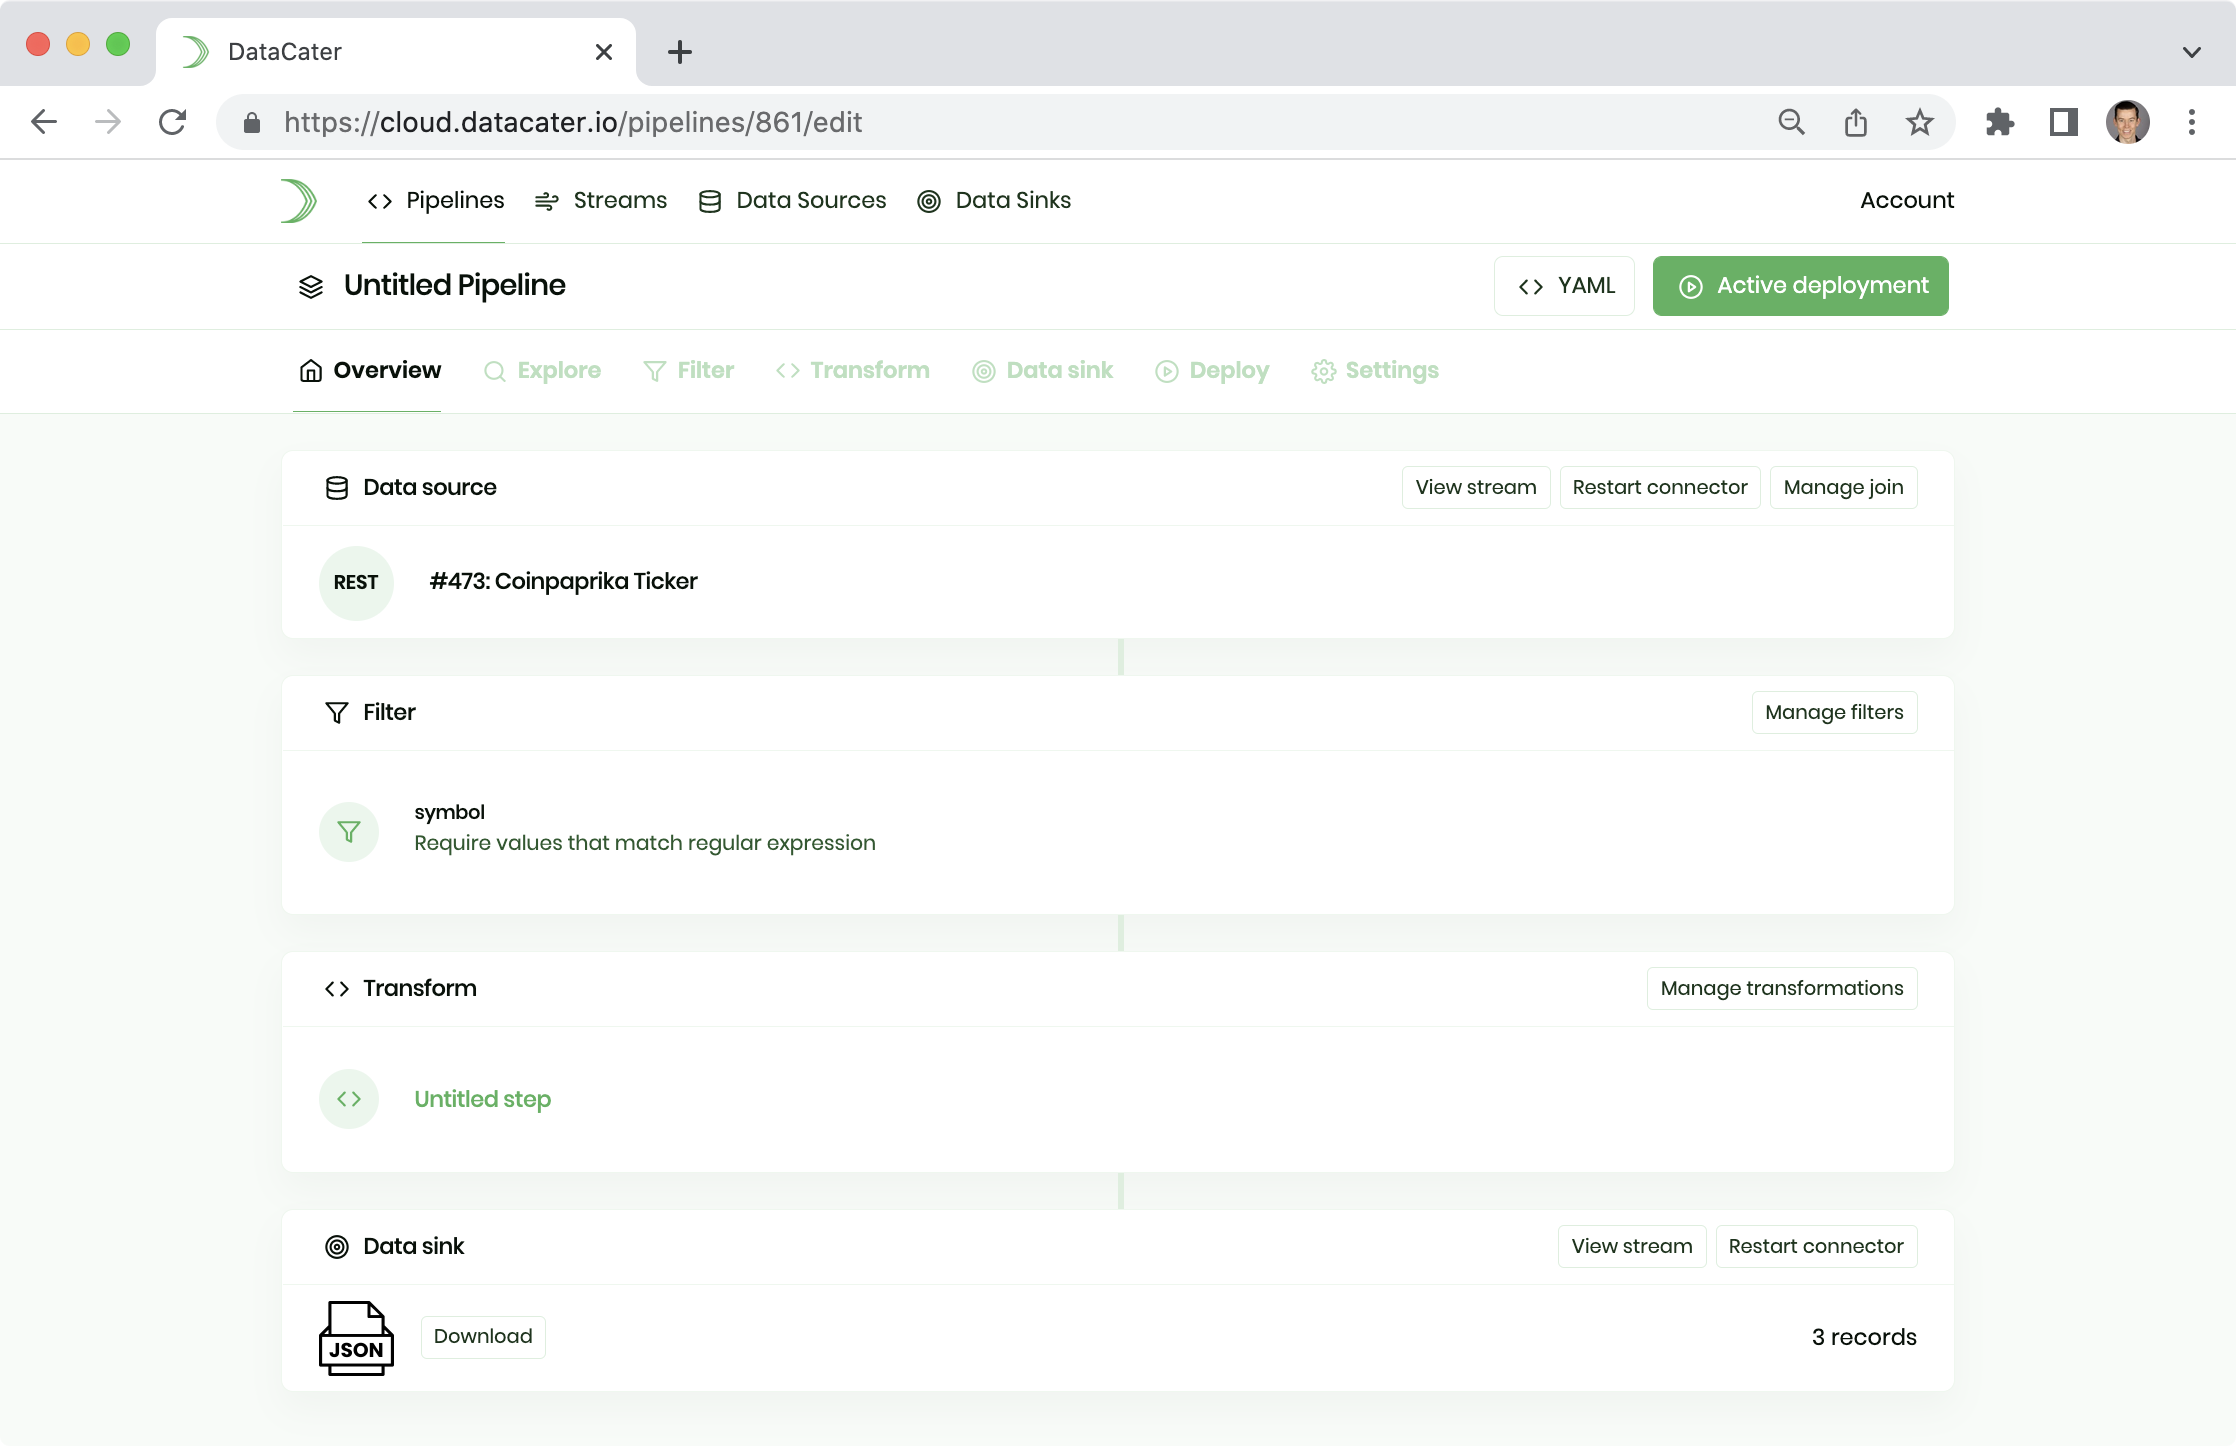
As long as your pipeline is running, it takes care of ingesting fresh and prepared data into your data sink (JSON file here).
Feedback
We hope you enjoyed this guide. Please reach out to us to ask any open questions or share your feedback with us.